
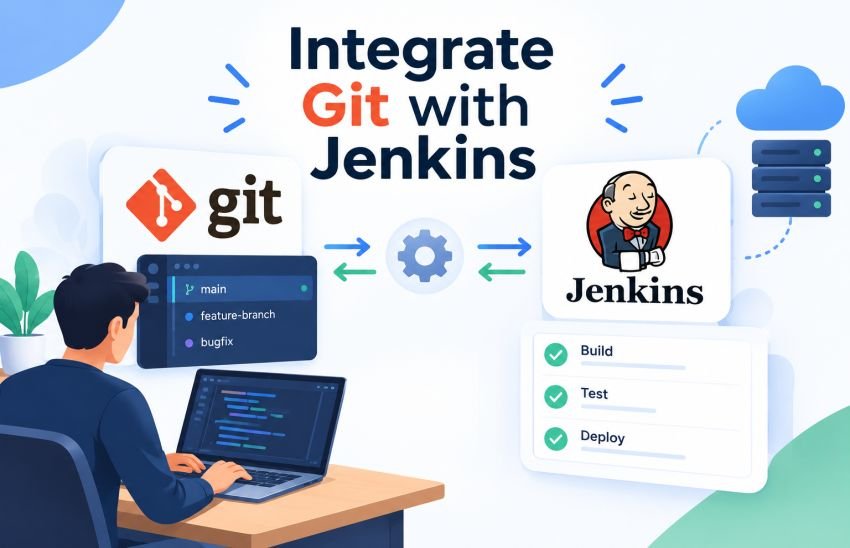
Modern software teams need a reliable way to move code from development into automated builds, tests, and delivery workflows. Git provides the version-control foundation, while Jenkins can automate what happens after developers push changes.
When you Integrate Git with Jenkins, a commit can become the starting point for an automated CI/CD workflow. Jenkins can retrieve the required branch, run tests, build the application, generate reports, and continue toward delivery based on the project’s Pipeline configuration.
This guide explains Git and Jenkins integration from the initial setup through credentials, repositories, Freestyle jobs, Jenkins Pipelines, webhooks, Multibranch Pipelines, troubleshooting, and security best practices. The instructions are useful for developers, DevOps engineers, QA teams, and U.S. organizations building modern software delivery workflows.
What Is Git and Jenkins Integration?
Git is a distributed version control system used to track source-code changes and collaborate through repositories and branches. Git’s official documentation explains that remote repositories allow developers to push and fetch project data between local and remote environments.
Jenkins is an automation server that can use Git as a source-control system. The Jenkins Git plugin can fetch commits, check out code into an agent workspace, work with branches, and support authenticated repository access.
The basic workflow looks like this:
Developer → Git repository → Jenkins trigger → Checkout → Build → Test → Package/Deploy
For example, a U.S. development team may host its application in GitHub. A developer pushes a change to the main branch. A GitHub webhook notifies Jenkins, Jenkins checks out the appropriate commit, and the Pipeline runs automated tests.
Why Integrate Git with Jenkins?
The combination is useful because source control and automation solve different parts of the software delivery process.
Git records what changed, who changed it, and when it changed. Jenkins takes that change and performs repeatable engineering tasks.
Common benefits include:
- Automated builds after code changes
- Automated unit and integration testing
- Consistent build environments
- Faster feedback for developers
- Centralized build history and logs
- Automated artifact creation
- Branch-specific CI/CD workflows
- Integration with deployment and cloud tools
- Reduced reliance on manual build processes
Jenkins Pipeline also supports “Pipeline as code,” allowing teams to keep their delivery process in a Jenkinsfile alongside application code. Jenkins recommends storing complex Pipeline definitions in source control rather than maintaining them only in the Jenkins interface.
Prerequisites for Git and Jenkins Integration
Before starting, prepare the following:
- A working Jenkins installation
- Git installed on the Jenkins controller or appropriate agent
- A Git repository hosted on GitHub, GitLab, Bitbucket, or another Git server
- Jenkins credentials if the repository is private
- A Jenkins job or Pipeline
- Network connectivity between Jenkins and the Git service
- Appropriate Git and Pipeline plugins
Jenkins’ current documentation lists Java 21 or Java 25 as supported runtimes for current LTS releases, depending on the Jenkins release. Always check the official Java support policy before installing or upgrading Jenkins.
For Linux installations, Jenkins currently recommends Java 21 or later and provides installation instructions for distributions including Ubuntu, Debian, Fedora, and Red Hat Enterprise Linux.
How to Integrate Git with Jenkins Step by Step
Step 1: Install and Verify Git
First, make sure Git is available on the machine that will perform the checkout.
On a Linux system, you can verify Git with:
git --versionThe command should return the installed Git version.
Jenkins jobs may execute on agents rather than directly on the controller, so verify that Git is available wherever the actual build and checkout will run.
Step 2: Install the Required Jenkins Plugins
Sign in to Jenkins and open the plugin management area.
For a typical Git-based workflow, Jenkins needs Git-related functionality. The Jenkins Git plugin provides operations for fetching, checking out, polling, and merging Git repositories.
Pipeline-related plugins are also required if you plan to use a Jenkinsfile.
Avoid installing large numbers of unrelated plugins. Keep your Jenkins installation focused on the tools your pipelines actually require.
Step 3: Create or Choose Your Git Repository
Create a repository on your preferred Git platform.
For example:
my-application/
├── src/
├── tests/
├── README.md
├── package.json
└── Jenkinsfile
The repository can be public or private. For production projects, private repositories and controlled credentials are generally more appropriate.
Make sure you know the repository’s HTTPS or SSH URL.
Example:
https://github.com/example-company/my-application.gitStep 4: Add Git Credentials to Jenkins
If the repository is private, Jenkins needs authentication.
Jenkins supports credential types including secret text, username/password, secret files, SSH private keys, and certificates. Credentials are stored securely by Jenkins and referenced through credential IDs rather than hard-coding secrets into Pipeline code.
For Git over HTTPS, the Git plugin supports username/password-style credentials. For SSH-based Git access, an SSH private-key credential is appropriate.
Do not put passwords, access tokens, or private keys directly into a Jenkinsfile.
Step 5: Create a Jenkins Job
For a straightforward setup, select New Item in Jenkins and create a project.
A Freestyle project can be useful for learning the basics:
- Create a new job.
- Select Freestyle project.
- Open the Source Code Management section.
- Select Git.
- Enter the repository URL.
- Select the appropriate credentials.
- Specify the branch you want Jenkins to build.
- Configure build steps.
- Save the job.
The Git plugin uses the repository URL and configured Jenkins credentials to retrieve source code into the job workspace.
Step 6: Run the First Build
After saving the job, select Build Now.
Jenkins should:
- Start the job.
- Connect to the Git repository.
- Fetch the required revision.
- Check out the configured branch.
- Execute the configured build steps.
- Display the result in the build history.
If the checkout succeeds, you have established the basic Git-to-Jenkins connection.
Integrating Git with Jenkins Using a Jenkinsfile
For modern CI/CD environments, a Jenkins Pipeline is usually more flexible than putting every build instruction into the Jenkins interface.
Create a file named:
JenkinsfileA simple Declarative Pipeline could look like this:
pipeline {
    agent any

    stages {
        stage('Checkout') {
            steps {
                checkout scm
            }
        }

        stage('Build') {
            steps {
                echo 'Building application...'
            }
        }

        stage('Test') {
            steps {
                echo 'Running automated tests...'
            }
        }
    }
}
Jenkins supports both Declarative and Scripted Pipeline syntax, with Declarative Pipeline providing a more structured approach.
For a Pipeline stored in source control, Jenkins can retrieve the Jenkinsfile from Git and execute it. This keeps application code and its delivery process under version control.
How to Automatically Trigger Jenkins After a Git Push
Manual builds are useful for testing an initial configuration, but CI/CD becomes much more valuable when builds start automatically.
Git Webhooks
A webhook allows a Git platform to notify Jenkins when an event occurs.
GitHub describes webhooks as a mechanism for delivering notifications to an external server when events happen on GitHub.
A typical flow is:
Git push → GitHub webhook → Jenkins → Build Pipeline
For GitHub-based projects:
- Configure the Jenkins job or Multibranch Pipeline.
- Open the repository’s webhook settings.
- Add the Jenkins webhook endpoint required by your Jenkins/plugin configuration.
- Select the events Jenkins should receive.
- Configure a webhook secret where supported.
- Push a test commit.
- Check the Jenkins build history.
Webhook security matters. GitHub recommends validating webhook signatures using the secret and the X-Hub-Signature-256 header so that applications can verify that deliveries came from GitHub and were not altered.
Poll SCM
Jenkins can also periodically check a repository for changes. This can be useful when webhooks cannot be used, although it introduces periodic polling instead of immediate event-driven notification.
The Jenkins Git plugin also documents repository notification mechanisms that can trigger polling when a repository changes.
Git, Jenkins, and Multibranch Pipelines
If your project has multiple active branches, a Multibranch Pipeline can simplify management.
Jenkins can automatically discover branches containing a Jenkinsfile and create Pipeline jobs for those branches.
For example:
| Git Branch | Jenkins Workflow |
|---|---|
feature/login | Build and unit tests |
development | Build, test, integration tests |
staging | Full validation |
main | Production-ready pipeline |
This approach is particularly useful for teams using pull requests and feature branches.
Jenkins also provides BRANCH_NAME information in Multibranch Pipelines and supports pull-request workflows through appropriate branch-source plugins.
Git and Jenkins Integration: Best Practices
A successful setup is about more than connecting a repository.
Use Credentials Instead of Hard-Coded Secrets
Store tokens and SSH keys in Jenkins Credentials and reference them through credential IDs. Jenkins specifically recommends limiting credential access to reduce the potential attack surface.
Keep the Jenkinsfile in Git
Version-controlling the Pipeline makes changes reviewable and ties the automation process to the application version.
Use Branch-Specific Workflows Carefully
Do not automatically deploy every branch to production. Separate development, testing, staging, and production behavior according to your release process.
Secure Webhooks
Use webhook secrets and signature validation where supported. Also restrict access to Jenkins and avoid exposing unnecessary endpoints publicly.
Test Before Deployment
A sensible Pipeline should generally validate code before deployment:
Checkout → Build → Unit Test → Integration Test → Security Checks → Package → Deploy
The exact stages depend on the application’s technology and risk profile.
Common Git and Jenkins Integration Problems
| Problem | Likely Cause | What to Check |
|---|---|---|
| Repository cannot be cloned | Incorrect URL or credentials | Repository URL and Jenkins credentials |
| Authentication fails | Wrong token/key | Credential type and permissions |
| Git command not found | Git unavailable on agent | Install/configure Git |
| Build does not trigger | Webhook or trigger misconfiguration | Jenkins and repository webhook logs |
| Wrong branch builds | Incorrect branch configuration | Branch/refspec settings |
| Jenkinsfile not found | Incorrect script path | Jenkinsfile location |
| Pipeline fails after checkout | Build environment issue | Agent tools and dependencies |
| Webhook rejected | Invalid secret/signature | Webhook configuration |
Reading the Jenkins console output is usually the fastest way to identify where a failed job stopped.
Conclusion
Learning how to Integrate Git with Jenkins provides the foundation for an automated software delivery workflow. Git manages source-code history and collaboration, while Jenkins turns repository changes into repeatable build, test, and delivery processes.
For a basic project, you can start with a Git repository, Jenkins Git configuration, credentials, and a simple build job. As your team grows, move toward a version-controlled Jenkinsfile, automated webhooks, Multibranch Pipelines, secure credentials, and clearly separated testing and deployment stages.
For software teams in the USA and elsewhere, the most effective setup is not necessarily the most complicated one. Start with a reliable Git checkout and automated test workflow, then add Pipeline automation, branch management, security checks, and deployment stages as the project requires them.
FAQs
Can Jenkins work with GitHub?
Yes. Jenkins can integrate with GitHub repositories through Git and related Jenkins plugins, including workflows based on Pipeline and Multibranch Pipeline projects.
Is Git installed separately from Jenkins?
Yes. Jenkins and Git are separate tools. Git must be available to the Jenkins environment that performs repository operations.
Should I use a Freestyle project or Pipeline?
Freestyle projects are useful for simple jobs and learning. For larger or evolving CI/CD workflows, Pipeline with a version-controlled Jenkinsfile provides greater flexibility and maintainability.
Can Jenkins automatically build after a Git push?
Yes. Webhooks are a common approach for event-driven builds. SCM polling is another option when webhook-based triggering is not suitable.
How should Jenkins access a private Git repository?
Use Jenkins Credentials with an appropriate authentication method, such as HTTPS credentials or an SSH private key. Avoid putting secrets directly in source code.